Setup Cpanel server with cloudlinux and litespeed
Need professional help to setup your server ? Checkout our cPanel server management plan
Or onetime server setup plan.
cPanel server with Cloudlinux and Litespeed is a very popular setup in the webhosting industry especially for shared webhosting industry because this give an administrator right power to control resource of each user and at the same time best performance and page load speed for their website.
First step of the process is to install and configure cPanel server you can do this by following below commands . Here we are going to use Centos 7.4
[root@server ~]# cat /etc/redhat-release
CentOS Linux release 7.4.1708 (Core)
Install cpanel server with cloudlinux and litespeed
Download cPanel installation script.
curl -o latest -L https://securedownloads.cpanel.net/latest
Install cPanel
sh latest
Once the cPanel installation is completed you will get below output.
( INFO): Congratulations! Your installation of cPanel & WHM 11.68 is now complete. The next step is to configure your server.
 ( INFO): Before you configure your server, ensure that your firewall allows access on port 2087.
 ( INFO): On RHEL, CentOS, and CloudLinux systems, execute /scripts/configure_firewall_for_cpanel to accomplish this.
 ( INFO): After ensuring that your firewall allows access on port 2087, you can configure your server.
 1. Open your preferred browser
 2. Type https://serverip:2087 in the address bar
 3. Enter the word root in the Username text box
 4. Enter your root password in the Password text box
 ( INFO): 5. Click the Login button
 ( INFO): Visit https://go.cpanel.net/whminit for more information about first-time configuration of your server.
 ( INFO): Visit http://support.cpanel.net or https://go.cpanel.net/whmfaq for additional support
 ( INFO): Thank you for installing cPanel & WHM 11.68!
 ( WARN): !!!!!!!!!!!!!!!!!!!!!!!!!!!!!!!!!!!!!!!!!!!!!!!!!!!!!!!!!!!!!!!!!!!!!!!!!!!!!!!!!!!!!!!!!!!!!!!!!!!!!!!!!!!!!!!!
 ( WARN): Your system kernel may have been updated.
 ( WARN): Current kernel (3.10.0-693.el7.x86_64) has been changed to: 3.10.0-693.17.1.el7.x86_64
 ( WARN): Before rebooting the system, please ensure that the installed kernel version is compatible with your deployment.
 ( WARN): !!!!!!!!!!!!!!!!!!!!!!!!!!!!!!!!!!!!!!!!!!!!!!!!!!!!!!!!!!!!!!!!!!!!!!!!!!!!!!!!!!!!!!!!!!!!!!!!!!!!!!!!!!!!!!!!
Now you may reboot the server to enable the new kernel version If you are planing to install Cloudlinux too you can schedule the reboot later after installing cloudlinux.
Before installing cloudlinux i highly recommend to upgrade MySQL to MariaDB 10.2 because by default MySQL comes with February 28, 2018 follow this link to upgrade MySQL 5.6 to MariaDB 10.2
Next we are going to install Cloudlinux please follow below commands to install Cloudlinux
Download Cloudlinux installation script.
wget https://repo.cloudlinux.com/cloudlinux/sources/cln/cldeploy
Now install script using the command
sh cldeploy -i IPADDRESS
Replace IPADDRESS with the IP address of your server.
Next we are going to install Lvemanager it gives you a graphical interface for managing Packages, and set limits on packages like Memory, CPU, Inode etc.
You can install Lvemanager using below command
yum install lvemanager
In most case it will be automatically installed in that case you will get a message
Package lvemanager-3.0-38.el7.cloudlinux.noarch already installed and latest version
Next install cagefs with the following command
yum install cagefs
/usr/sbin/cagefsctl --init
cagefs is the core feature of Cloudlinux it will make your server more secure by limiting your user inside a cage and they wont be able to access files of other users or server configuration file.
After successful installation it will show below output.
Updating users ...
 Updating statuses of users ...
 CloudLinux Selector setup: successful
Now we are going to install MySQL Governor on the server it is to avoid mysql abuse on a shared server. Sometimes users mysql query gets stuck and it will create high load on the server.
Install MySQL Governor for Mariadb 10.2
yum install governor-mysql
You cannot use the script ” /usr/share/lve/dbgovernor/db-select-mysql –mysql-version=mariadb102″ to set MariaDB version because it is depreciated.
/share/lve/dbgovernor/db-select-mysql --mysql-version=mariadb102
 This script is deprecated. Use -- mysqlgovernor.py --mysql-version 'mariadb102' -- instead
 Now set MySQL to type 'mariadb102'
Run
/usr/share/lve/dbgovernor/mysqlgovernor.py --mysql-version mariadb102
/usr/share/lve/dbgovernor/mysqlgovernor.py --install
Next step is to install PHP versions, here easyapache 4 as well as cloudlinux also providing multiple PHP version and we are going to use Cloudlinux php version because Cloudlinux provide hardened php version of end of life php versions like 4.4 run the following command to install multiple php versions from Cloudlinux.
yum groupinstall alt-php
Next we are going to install and setup Ruby and Python selector this can be installed using below command.

This will create an isolated Python environments and Passenger Apache module.
yum install lvemanager alt-python-virtualenv ea-apache24-mod-alt-passenger
Now we will install python selector so that it will be available via cPanel
yum groupinstall alt-python
Install ruby selector
yum groupinstall alt-ruby
Install python devel for using MySQL/Mariadb database
yum install alt-python27-devel
Now enable compilers from WHM »Security Center »Compiler Access
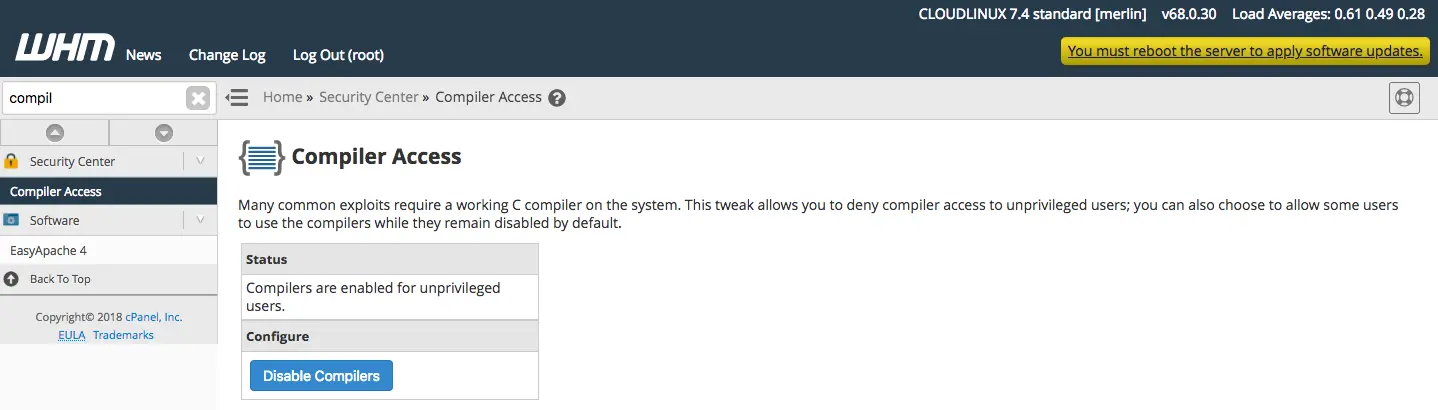
Enable compiler access from whm
Install and configure litespeed.
First you a purchase Litespeed license from
Install litespeed WHM plugin using below command
cd /usr/local/src

wget  https://www.litespeedtech.com/packages/cpanel/lsws_whm_plugin_install.sh

sh lsws_whm_plugin_install.sh
Once it is done we will continue litespeed installation from WHM
Now go to WHM »Plugins »LiteSpeed Web Server Plugin
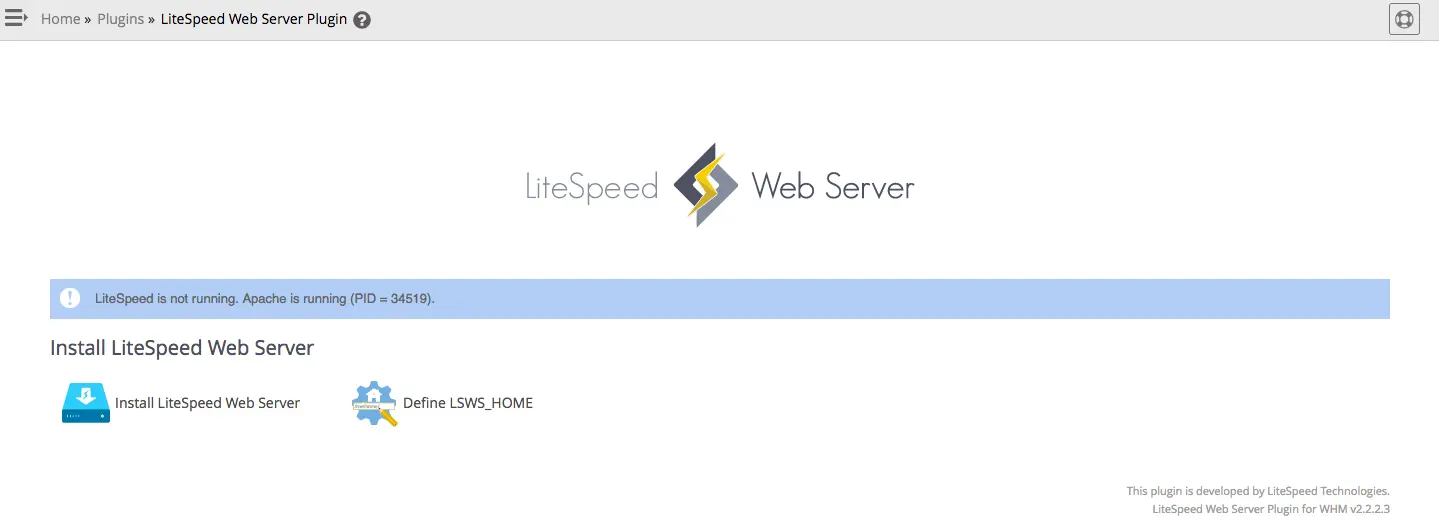
Install litespeed web server on cPanel
On the next page enter your license key and click install and it will install lietspeed on the server. You need to make sure to enable phpexec if it is a shared server because it will force user to run php script under the ownership of user which is more secure way.
Now go to PHP suEXEC Quick Configuration page and set these values.

cPanel litespeed PHP suEXEC Quick Configuration
Now we need to configure Litespeed to use Cloudlinux PHP version. Here first step is login to litespeed admin console. If you do not know how to access Admin console please follow Reset litespeed admin password
Go to Admin Console –> Configuration –> Server –> General and set Cloudlinux to > CageFS
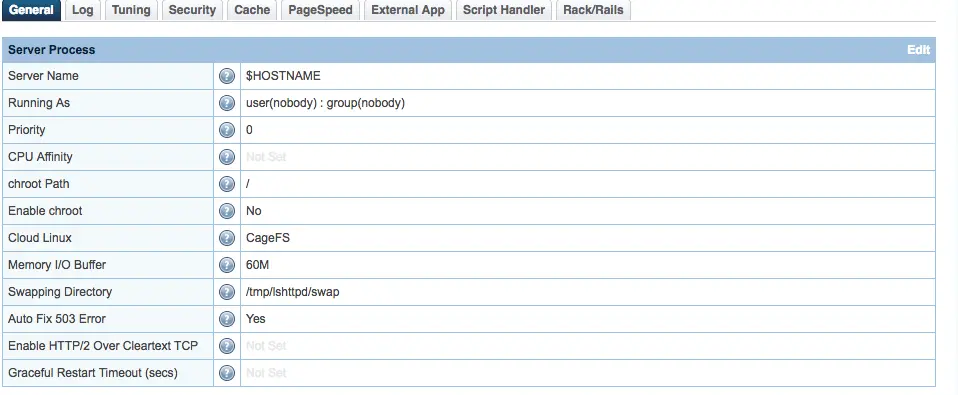
Litespeed cloudlinux php selector
Now go to Go to External App tab and click on cl_phpselector and make sure command is set to
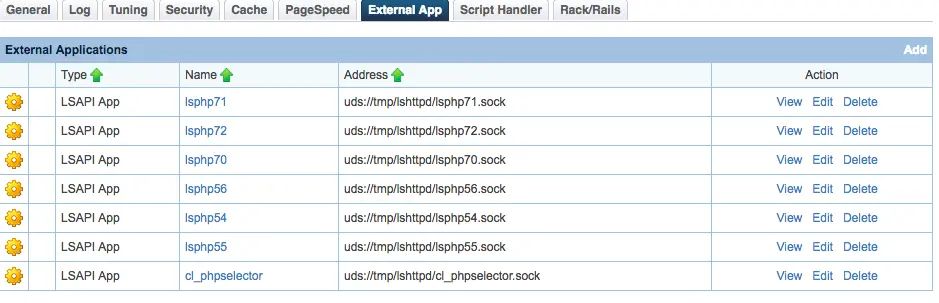
cl_phpselector
command => /usr/local/bin/lsphp
And set run on Run On Start Up to Yes
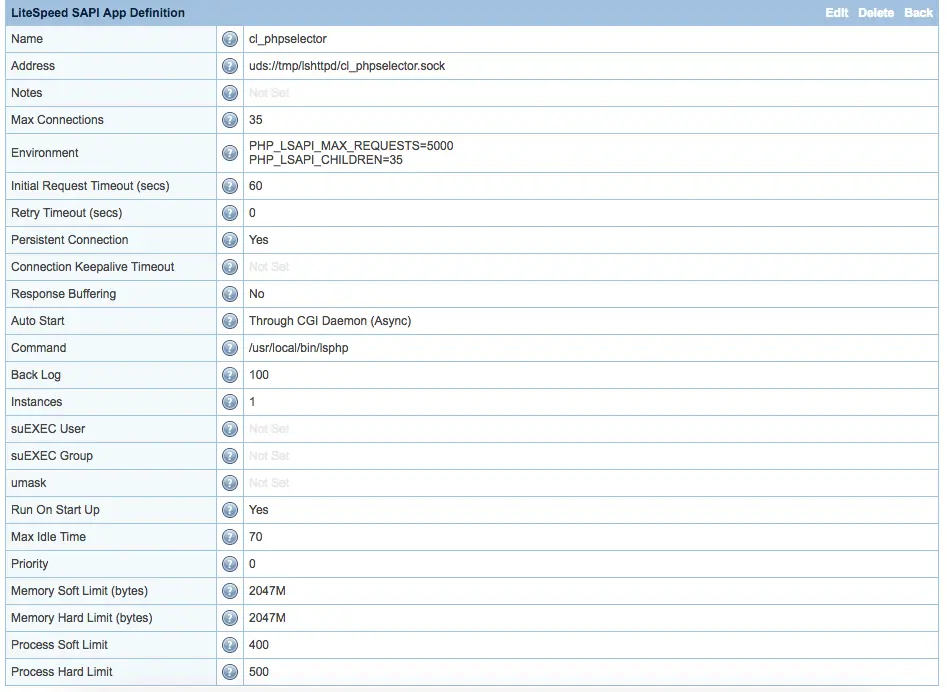
Multiple php selector on cloudlinux
Now we have completed the setup of Cpanel server with cloudlinux and litespeed

Leave A Comment