WordPress is a free, open-source website creation platform. WordPress is a content management system (CMS) written in PHP that uses a MySQL database or MariaDB database.
WordPress is very easy to use and has an intuitive interface. Adding new pages, blog posts, images, etc. on a regular basis is a breeze and can be done quickly and it’s SEO friendly.
Need a super-fast Webstie? Check out our full Server Optimization Service
WordPress acts as the engine for your website. The look and feel of the site can be 100% customized so your brand can shine through on your site and provide a unique experience to your visitors. WordPress comes with thousands of dedicated themes, many of them free, allowing you to customize and personalize your creation as you wish.
In this article, we will look at how to optimize a WordPress installations on a CPanel server.
- Using MegaOptim Image Optimizer plugin and WP-CLI to optimize images from the command-line.
WP-CLI is a command-line tool that can help to execute WordPress specific tasks from the command-line. Now we can check how can we optimize images using the WP-CLI tool. Login to the server using SSH and navigate to the directory where your WordPress site is installed. Verify if WP-CLI is installed using the wp command and if it’s installed you can use the below commands to optimize the images:wp megaoptim bulk (optimize the all the images in your WordPress Media Library) wp megaoptim optimize /path/to/folder --recursive (optimize all the images that are in specific folder) wp megaoptim optimize /path/to/folder/image.jpg (optimize image in specific location)
- Enable gzip compression (Apache mod_deflate) in cPanel
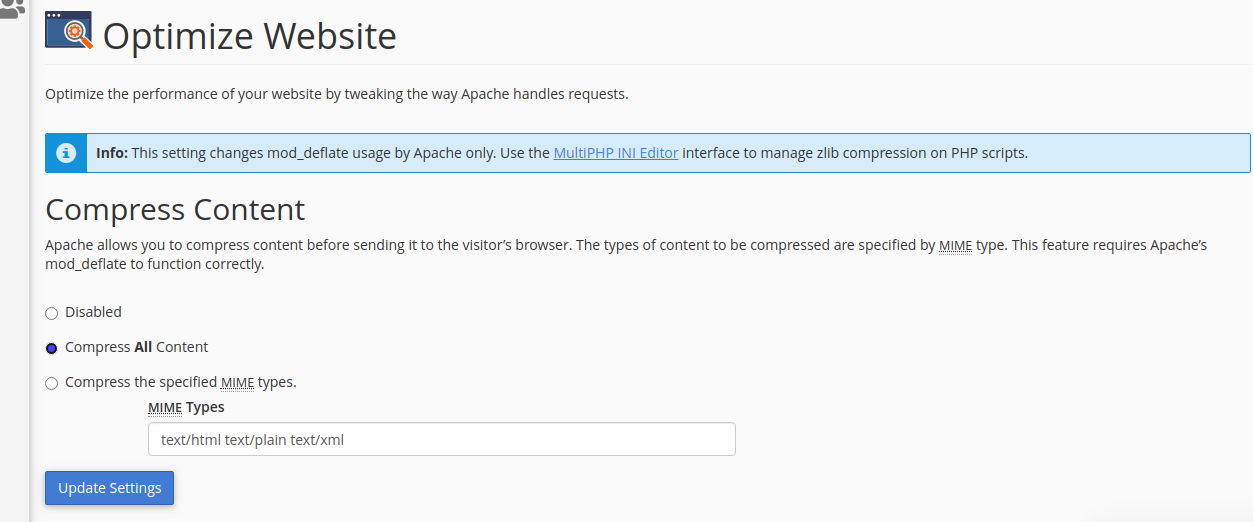
Compressing web content is an effective way of speeding up the page load times, save bandwidth, and improve the user experience. This article shows you how to activate and customize gzip compression in cPanel. Please note that the Apache mod_deflate module must be installed on the server. Contact your host if you are unsure.To enable the gzip compression for your site, follow the steps:1) Access the cPanel using the login details.2) Navigate to Optimize Website on the Software section3) In this section, you will have 3 options and the 3 options is as follows:-Disabled – which will disable the compression
-Compress All Content – with this option all content will be compressed
-Compress the specified MIME types – here, you will be able to input only certain MIME file types.
Caching Using WordPress plugins
Caching is the action of temporarily storing data in a cache so that, if a user accesses your site frequently, the data will be automatically delivered without going through the initial loading process again (which takes place when the site files are requested for the first time). A cache is a sort of memory that collects data that’s being requested many times from the same viewport and is used to increase the speed of serving this data.
Caching is in fact really simple. No matter if you do it manually or by installing a plugin, it can be implemented on your site pretty quickly. Some of the best plugins are WP Super Cache and W3 Total Cache — they are both free and best rated on WordPress.org official repository. We can now look at few plugins here:
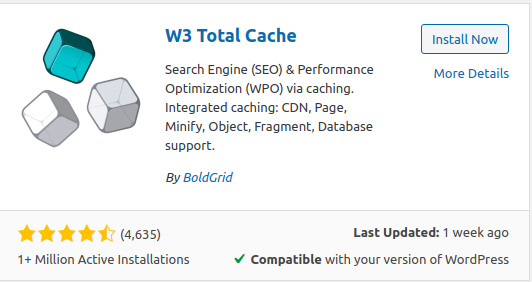
- W3 Total Cache
W3 Total Cache is currently the best WordPress plugin for cache-based, performance optimization. W3 Total Cache improves the overall speed of your site by caching multiple elements on your pages which improves the overall responsiveness of your webserver. You can install the W3 Total Cache from the plugin section of the WordPress dashboard.
 You can configure the W3 Total Cache from the setting section of the plugin.
 Now we can check some of the settings available in the W3 Total Cache:-General Settings
On the left side navigation menu, click on Performance >> General Settings to start the configuration. This is where we can enable all the W3TC features and settings. Luckily, we will not need every setting enabled, so we’re simply going to be reviewing all the options from this window.

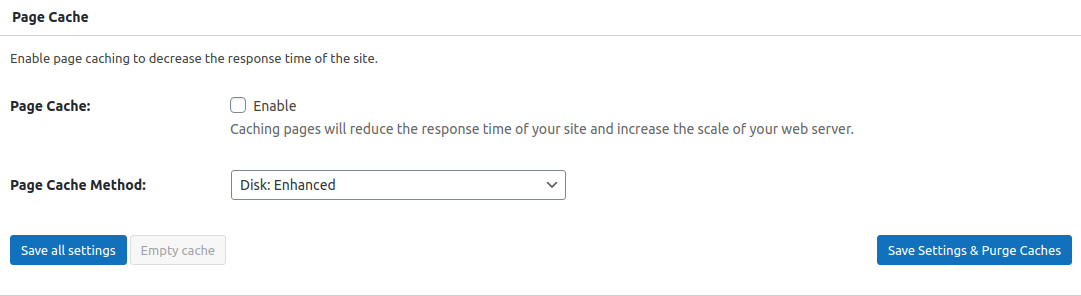
-Page Cache
Page cache is responsible for creating static cache pages for each page that is loaded, so it is not being dynamically loaded upon each page load. By having this enabled, you will significantly decrease your load time and server resources while improving performance.

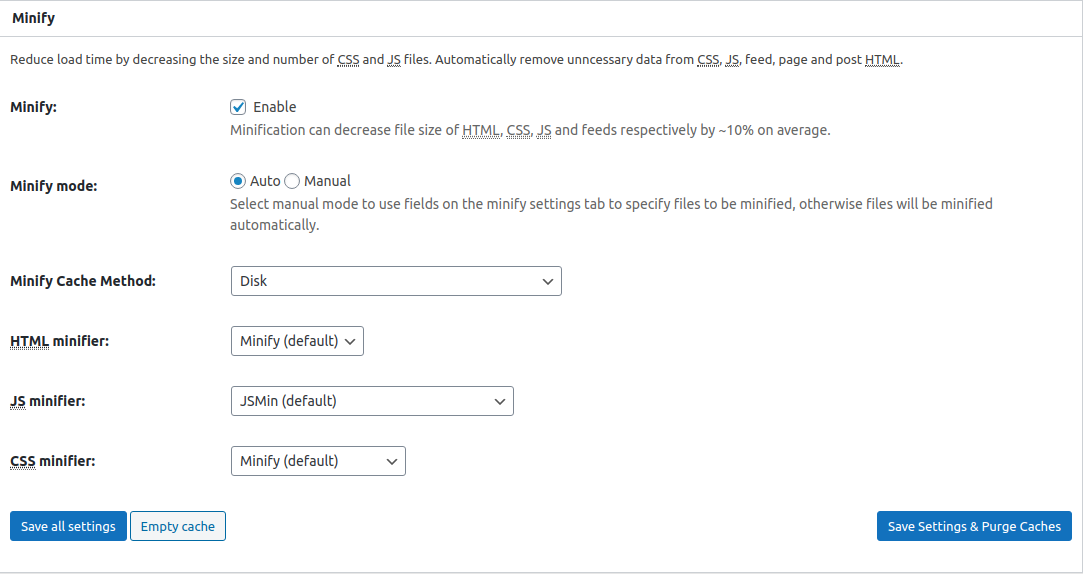
-Minify
Minification compresses and combines many file types, including JavaScript and CSS on your website. Minify also shrinks your website’s code, without losing any of its functionality. You will want to use minify to improved page load times. We suggest using the Auto Minify mode.

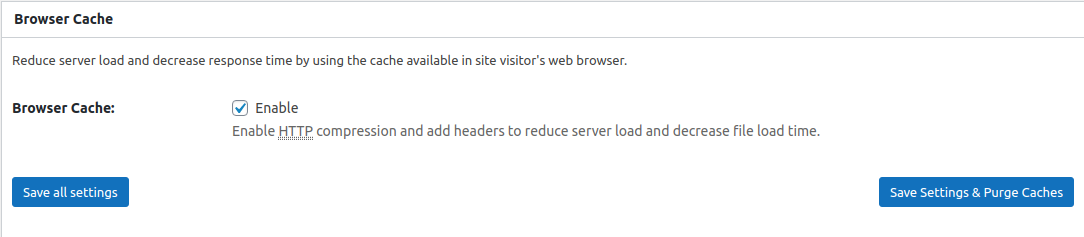
-Browser Cache
This option instructs the client’s browser to retain a local copy of the visited webpages (on their browser) when they visit your site. This reduces the overall number of request to your website. Browser Caching speeds up your site by enabling the sites static resources to be stored in your visitors’ browsers, thereby eliminating the need for the server to continually re-supply static content over and over again to repeat visitors. You definitely need to Enable this option.

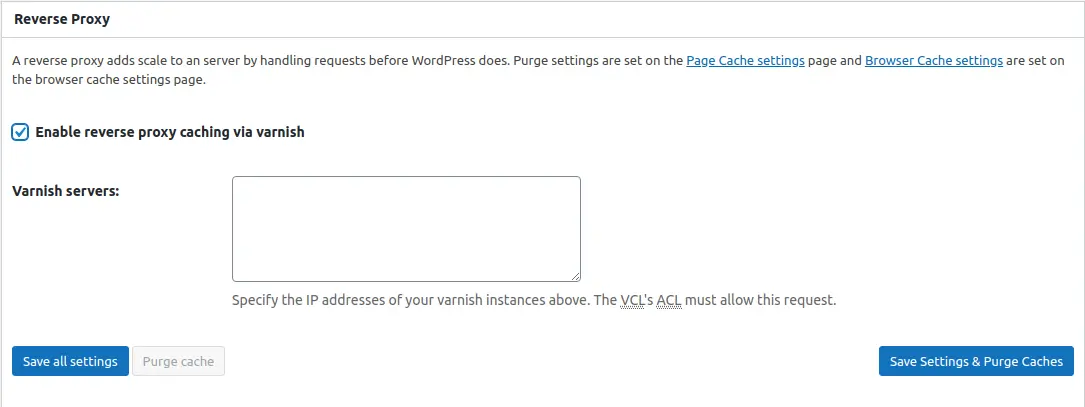
-Reverse Proxy
Reverse proxies are an advanced concept that generally requires a significant configuration investment. Reverse proxies operate like this; If your server receives a large number of requests at the same time, it can get bogged down fetching the requested data and trying to serve up new requests.
A reverse proxy server can assist in situations like this by acting as a middleman, as the proxy server will receive the redirected requests instead of your webserver. The proxy server can then access the cache itself and serve up the requested content to the client.
This allows for the actual server to perform other tasks. There are multiple reverse proxy software titles that handle this type of duty. NginX, Varnish, and Squid can assist in a large scale operation, but its setup and configuration are best left to systems admins and developers.

- WP Super Cache
This plugin generates static html files from your dynamic WordPress blog. After a html file is generated your webserver will serve that file instead of processing the comparatively heavier and more expensive WordPress PHP scripts.The static HTML files will be served to the vast majority of your users:Users who are not logged in.
Users who have not left a comment on your blog.
Or users who have not viewed a password protected post.You can install this plugin from the plugin section of the WordPress dashboard.
 The plugin serves cached files in 3 ways (ranked by speed):-Expert
-Simple
-WP-Cache caching
 You can configure the W3 Total Cache from the setting section of the plugin.
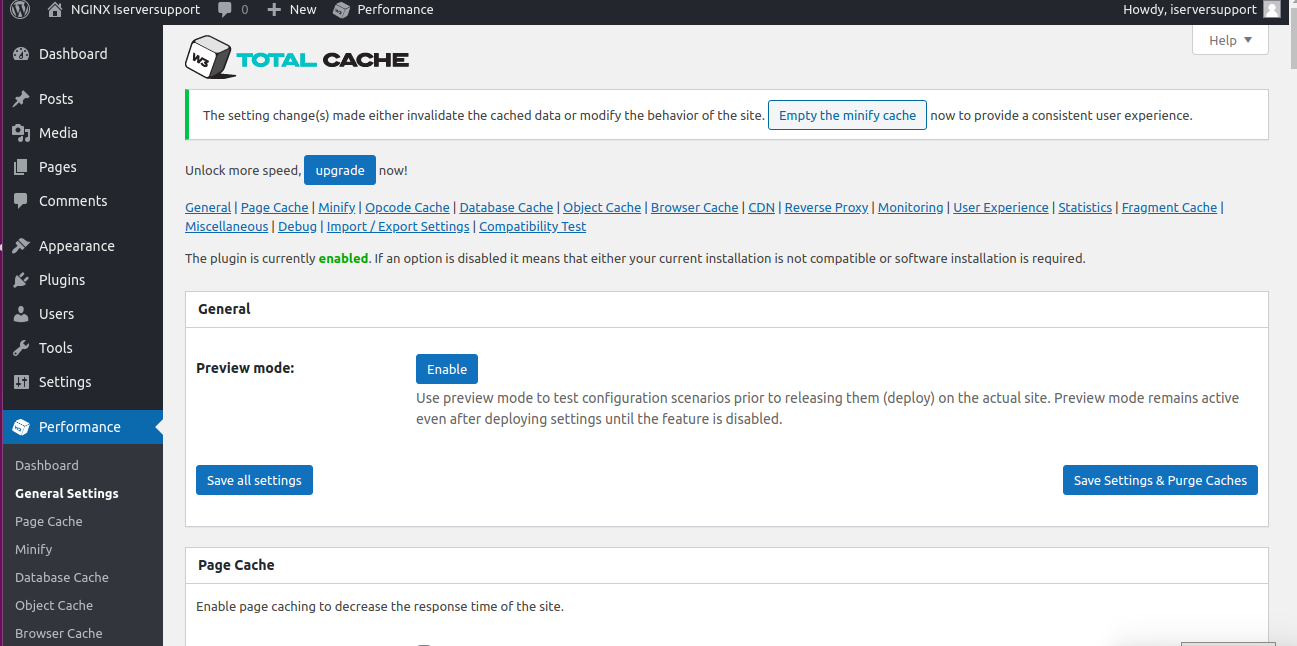 Now we can check some of the settings available in the W3 Total Cache:-General Settings
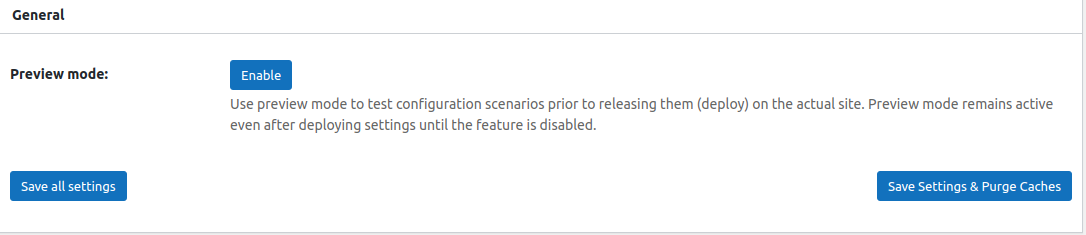
 The plugin serves cached files in 3 ways (ranked by speed):-Expert
Install MEMCACHE on Cpanel Server
Memcached is a service that allows entire database tables to be stored in memory, drastically speeding up queries to those tables and alleviating database load.
Install MemCache onto your Cpanel server
The Easiest way to install Memcached is through a package manager such as yum
yum install memcached
Start memcached service
-service memcached start
Install PHP memcache
-pecl install memcache
Finally, restart Apache
-service httpd restart
-Integrate Memcache into your WordPress site
Grab the WordPress plugin from here: https://wordpress.org/plugins/memcached/
WARNING – DO NOT INSTALL THE PLUGIN THROUGH WORDPRESS
YOU HAVE TO MANUALLY UPLOAD THE PLUGIN FILE THROUGH FTP OR A FILE MANAGER
Upload object-cache.php file to your /wp-content folder
Add the following lines to the bottom of your wp-config.php file
global $memcached_servers;
$memcached_servers = array('default' => array('127.0.0.1:11211'));
Install Redis caching engine on cPanel server
Redis is an open-source in-memory data structure stores vast amounts of data without the limits of a relational database. Caching with Redis will automatically flush the cache when new content is published. If a page is edited or new content is posted on your website, the Redis cache for that content will be invalidated to avoid dirty cache and will be updated after the next page load.
Installing Redis on the server
-Login to the server via SSH and do the following steps.
– Download the following rpm to the server using the below commands.
wget http://dl.fedoraproject.org/pub/epel/6/x86_64/epel-release-6-8.noarch.rpm
wget http://rpms.famillecollet.com/enterprise/remi-release-6.rpm

– Run the following commands to install Redis on the server.
rpm -Uvh remi-release-6*.rpm epel-release-6*.rpm

yum install –y redis
– Now the redis is installed on the server and we need to enable the Radis to start it automatically upon server reboot.
chkconfig redis on
– After installation, we need to configure Redis. Follow the below steps to configure it.
Open the Redis configuration file and add the below lines at the end of the file:
vi /etc/redis.conf
maxmemory 256mb

maxmemory-policy allkeys-lru
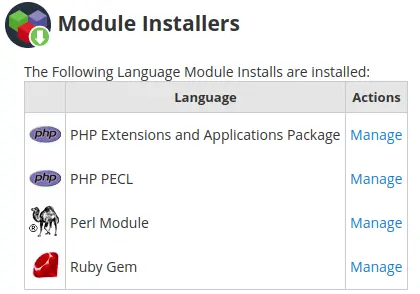
– Now we need to install php redis extension, for that, we need to login to WHM and Search for Module Installers under Software section. Navigate to Module Installers page and then click on the Manage link for the PHP Pecl.
– On the PHP Pecl Installer page search type Redis and hit the Go button.
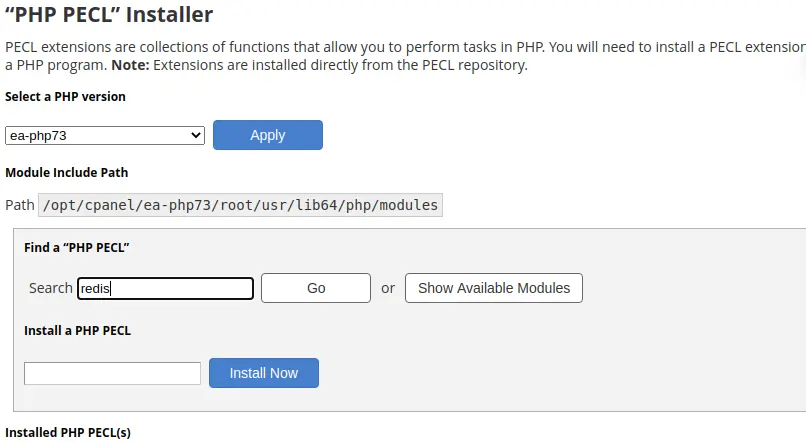
– Then click on the “Install” link from the results of the Redis extension to complete the installation.
-Configure WordPress
Lets see how we can configure or integrate our WordPress install with the Redis server.
-Install plugin named Redis Object Cache plugin
-Go to the Wp-Admin area of word press and click the “Object Cache” button.
-Edit our wp-config.php and add below two lines at the end of the file Authentication Unique Keys and Salts section, Note that string can be anything you want, as long as it’s unique. it will be better if you set your domain name as string.
define('WP_CACHE_KEY_SALT', 'string');
define('WP_CACHE', true);
-Finally, we need to restart the Redis and httpd services to enable the changes.
service httpd restart

service redis restart
Updating WordPress and PHP to The Latest Version
The easiest and most basic way to speed up WordPress websites is by updating the CMS core. Updates come out periodically with the latest improvements, which often means faster performance all around.
WordPress provides an easier way to update your website through the admin dashboard. You can update the WordPress using the Updates section.
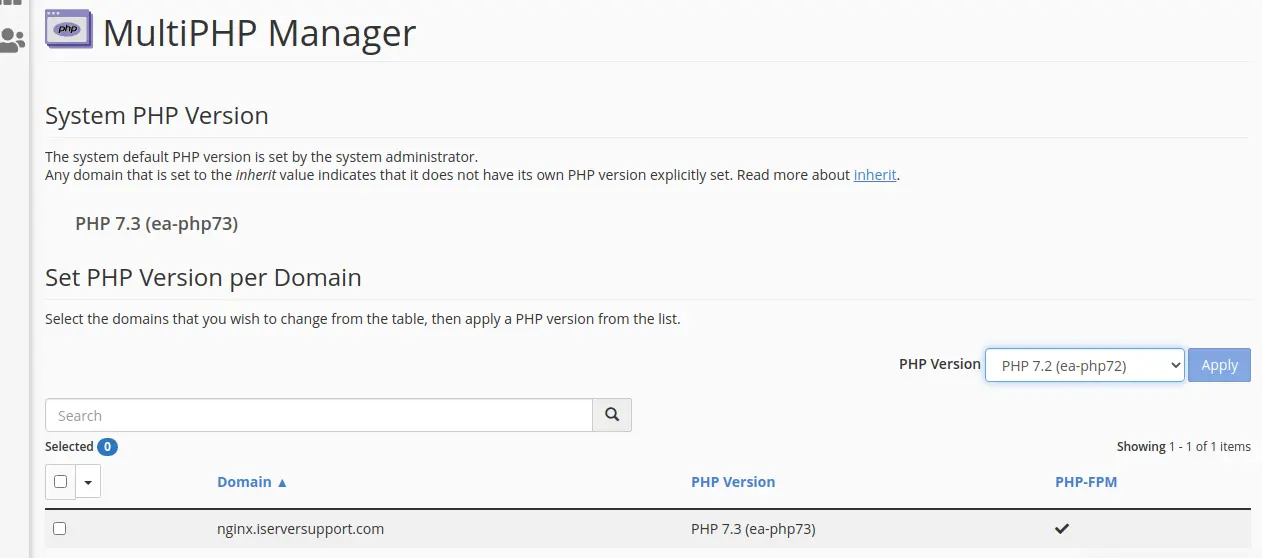
You can easily update the PHP version of the website from the MultiPHP Manager section of cPanel. We do always encourage adopting the most recent stable version of PHP since it allows you to use the latest features and enhancements.
Removing Unnecessary Plugins and Themes
WordPress makes it so easy for you to expand your site’s functionality by installing plugins and themes. Despite that, having too many of them can slow down your website’s performance.
To solve this issue, you need to remove or at least disable unused plugins and themes. Keep your site clean and tidy by only keeping the ones that contribute to the site’s functionality. Eliminating clutter will surely speed up your WordPress website.

Small typo above. Thanks for sharing the content.
“enable the Radis”
Feel free to delete this comment if you fix the above :)