NGINX is a web server, load balancer, and reverse caching proxy. Like all web servers, it accepts HTTP requests and responds with HTML documents. NGINX was developed in response to perceived weaknesses in the way Apache handled network connections and requests.
By default, cPanel uses Apache as the webserver. Here, we are installing Nginx as a reverse proxy on cPanel with apache. When used as a reverse proxy, NGINX is very fast at serving static content while passing dynamic content onto Apache. Additionally, NGINX can act as a cache for Apache. When used as a caching mechanism, NGINX caches dynamic content for Apache and responds directly to future requests for the same content. Using NGINX with cPanel as a reverse caching proxy can substantially increase performance and reduce server load.
Requirements
To install Nginx on your server, you must meet the following requirements:
- Install the Experimental Repository. Use the following command to install this repository:
yum install ea4-experimental
- root user access to the server.
- Use PHP-FPM as the server’s PHP handler.
- Install the ea-ruby24-mod_passenger Apache module. When you install the ea-nginx module, the system will install this module and other necessary Ruby modules if they don’t already exist.
Installing Nginx
Change Listening Ports
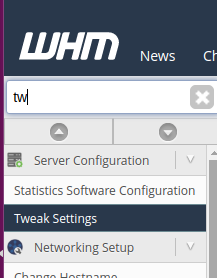
- Log into WHM as the ‘root‘ user.
- Click on Tweak Settings from the Server Configuration section.
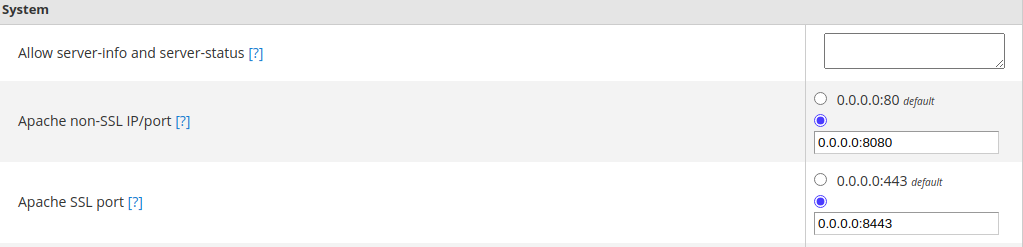
- Navigate to Apache non-SSL IP/port options and select the box to change ports. Now, we want to change the default port 80 to another. Here, we changed the port to 8080.
- Navigate to the Apache SSL port options and select the box to change the ports. We have changed the port from 443 to 8443
Now after changing the default ports, we can install the nginx. To install Nginx, run the following command on the command line:
yum --enablerepo=EA4-experimental install ea-nginx
Now, the nginx is installed as reverse proxy with apache. Nginx will be running on ports 80 and 443.
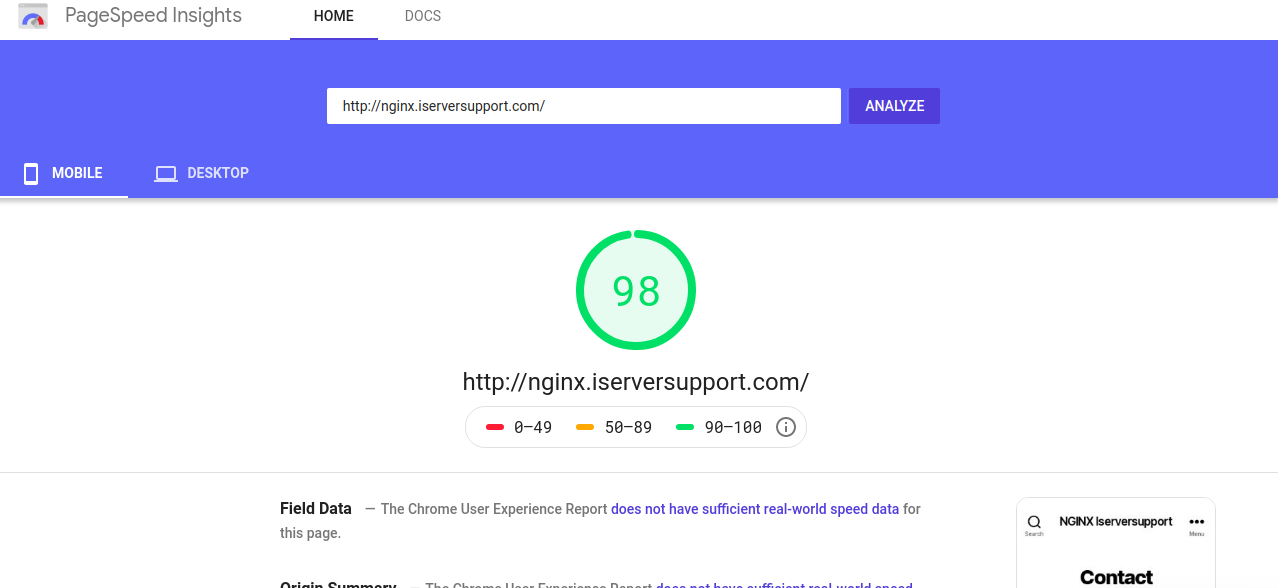
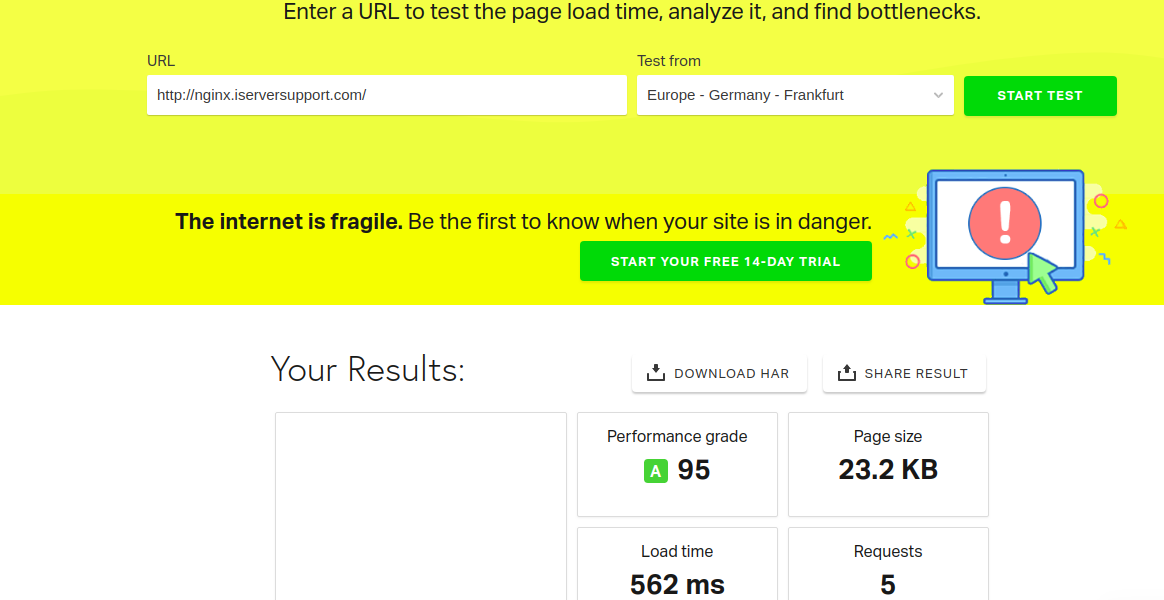
We have developed a WordPress site to check the performance of the nginx web server installed on a cPanel server. And the performance of the website was as expected, you can verify the performance using the following screenshots:
Enabling and Configuring Nginx’s gzip Module
The gzip module is a core module in Nginx, which means it is already installed but must be enabled and configured. For enabling gzip module, create gzip.conf under the directory /etc/nginx/conf.d . Copy and paste the following code to the file:

gzip on;

gzip_disable "msie6";

gzip_vary on;

gzip_proxied any;

gzip_comp_level 6;

gzip_http_version 1.1;

gzip_min_length 256;

gzip_types text/plain text/css application/json application/x-javascript text/xml application/xml application/xml+rss text/javascript;
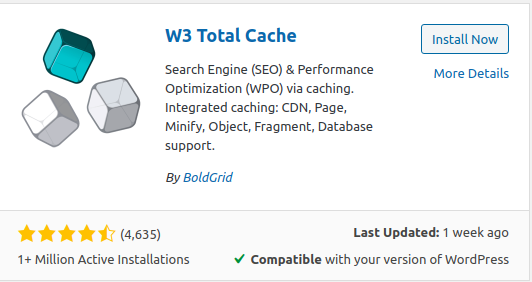
Install & Configure W3 Total Cache WordPress Plugin
W3 Total Cache is currently the best WordPress plugin for cache-based, performance optimization. W3 Total Cache improves the overall speed of your site by caching multiple elements on your pages which improves the overall responsiveness of your webserver. You
can install the W3 Total Cache from the plugin section of the WordPress dashboard.
You can configure the W3 Total Cache from the setting section of the plugin.


And the performance of the website was as expected, you can verify the performance using the following screenshots:

Leave A Comment