Migrating from cPanel to DirectAdmin: Full Step-by-Step Guide
With cPanel licensing costs increasing over the years, many hosting companies and server owners are shifting to DirectAdmin. It’s lightweight, cheaper, and stable for large production workloads. This updated guide gives you a clear, technical workflow for migrating from cPanel to DirectAdmin with minimal downtime.
If you prefer a done-for-you migration handled end-to-end, check our Server Migration Service .
.
1. Why Migrate to DirectAdmin?
DirectAdmin has become the preferred alternative for teams who want:
-
Lower licensing costs
-
Faster panel performance
-
Simpler architecture
-
High stability under load
-
Better control over resources
-
Easy customization for hosting providers
For companies managing multiple servers, our DirectAdmin Server Management ensures stable, optimized setups post-migration.
2. Pre-Migration Requirements
Before starting, ensure:
-
Both servers run updated OS versions
-
SSH root access on old & new servers
-
Enough disk space on the destination server
-
Backups enabled on the cPanel server
-
Firewall rules allow server-to-server transfer
-
MySQL/MariaDB versions match or are compatible
-
PHP versions match the DirectAdmin server
If you’re handling large hosting setups, consider improving performance with Proactive Server Management.
3. Generate cPanel Account Backups
On the cPanel server, generate full backups using pkgacct:
cd /scripts
./pkgacct username
Backup all accounts:
for user in $(ls /var/cpanel/users); do /scripts/pkgacct $user; doneBackups are stored in:
/home/cpmove-*You may also generate them via WHM → Backup → Full Backups.
📌 Insert WHM screenshot here.
4. Transfer Backup Files to the DirectAdmin Server
Use rsync (recommended):
rsync -avz /home/cpmove-* root@DirectAdminIP:/home/Or use scp:
scp /home/cpmove-* root@DirectAdminIP:/home/Ensure file permissions remain correct.
5. Restore cPanel Backups in DirectAdmin
DirectAdmin gives you two restore options:
Option 1: Restore via Command Line
DirectAdmin supports native cPanel backup restoration using:
cd /home/
./da-cpanel-import.sh /home/cpmove-username.tar.gz
Restore all accounts:
for file in /home/cpmove-*; do ./da-cpanel-import.sh $file; doneThis automatically imports:
-
Home directory
-
DNS zones
-
Email accounts & passwords
-
MySQL databases
-
Forwarders & autoresponders
-
Cron jobs
-
Subdomains & addon domains
Verify logs:
/var/log/directadmin/cpanel/Option 2: Restore via DirectAdmin Control Panel
📌 You will insert your screenshots in each section below.
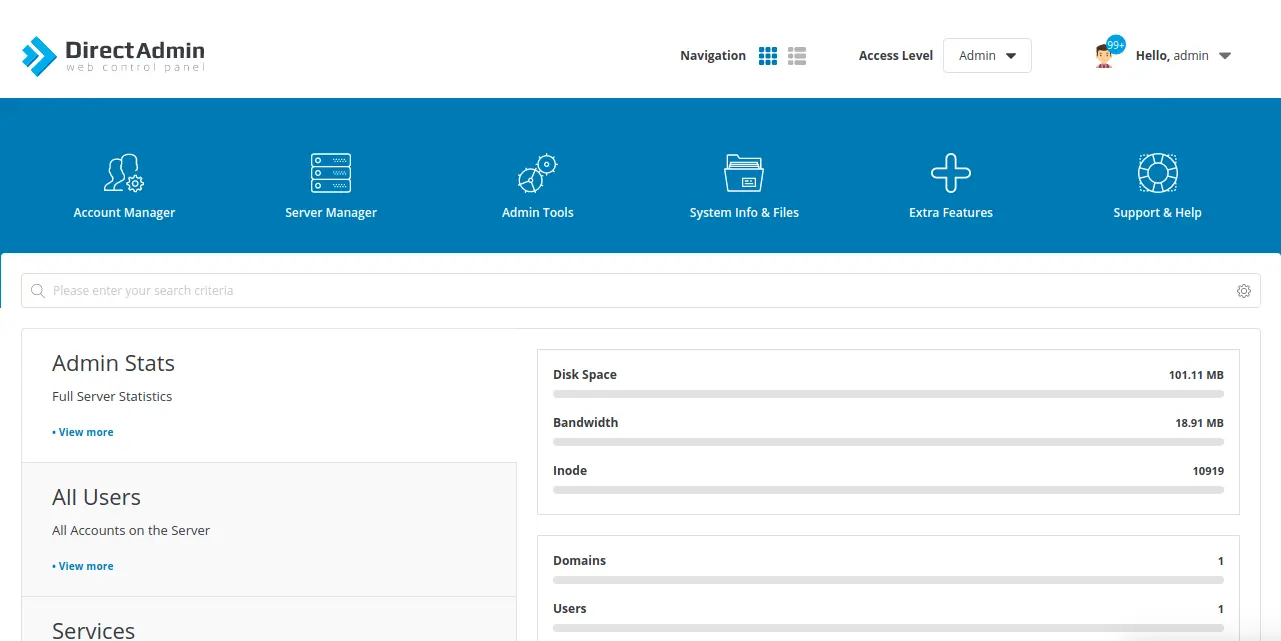
Step 1 — Log in
Visit:
https://servername.domain.com:2222Open the DirectAdmin Dashboard.
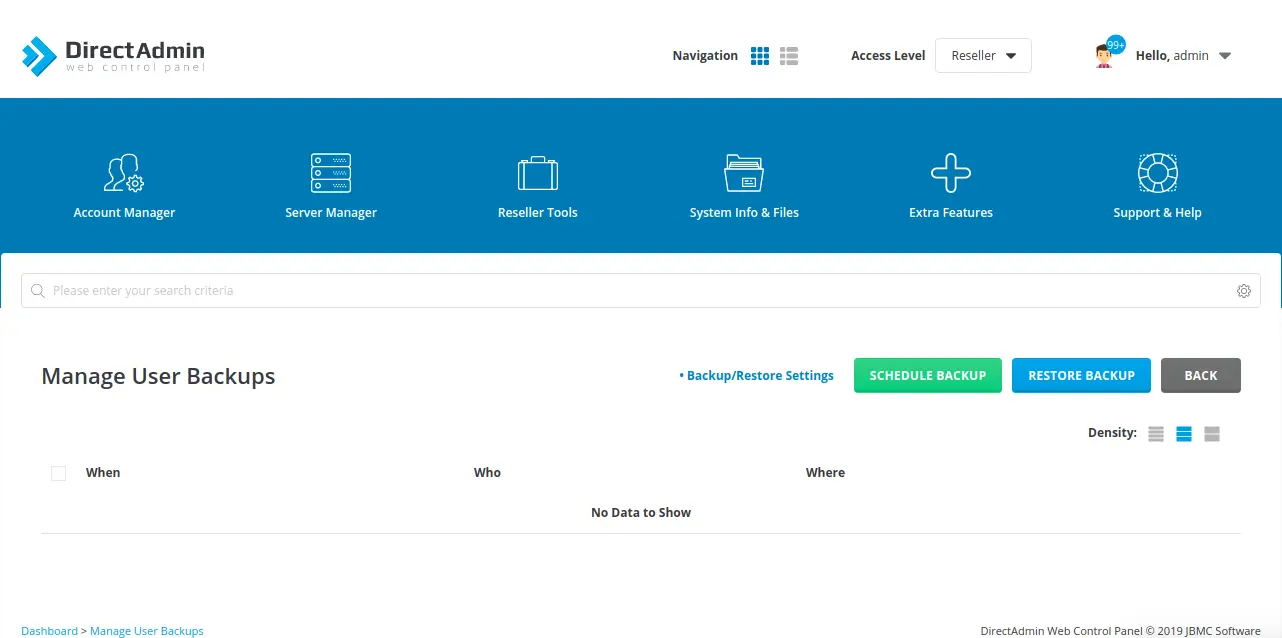
Step 2 — Switch to Reseller Access Level
The backup restore tool is under Reseller Level.
Step 3 — Go to Backup Restore Wizard
Navigate to:
Reseller Tools → Manage User Backups → Restore Wizard

Step 4 — Select Backup Location
Choose:
Local: /home/admin/user_backups
(This is where converted backups are stored.)
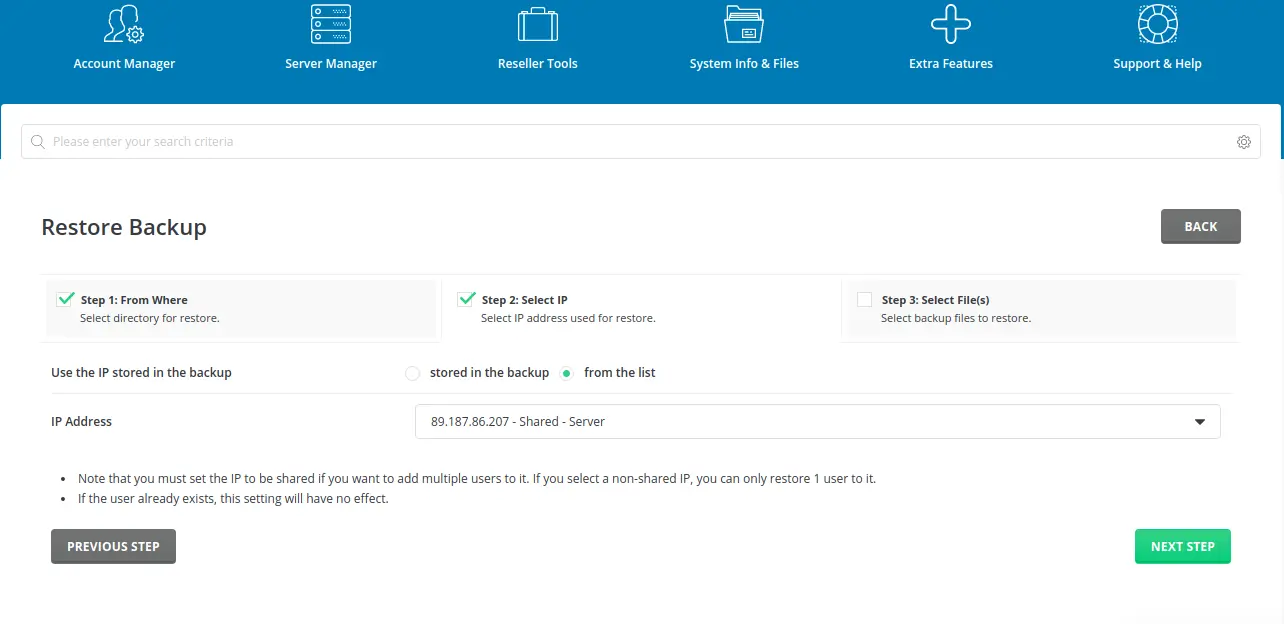
Step 5 — Select IP Assignment
Choose “From the list” and pick the IP that should host the restored domain(s).
Step 6 — Select Backup File
Select the cPanel-converted file from:
/home/admin/user_backups⚠️ Filename must equal the username

⚠️ Must be < 10 characters
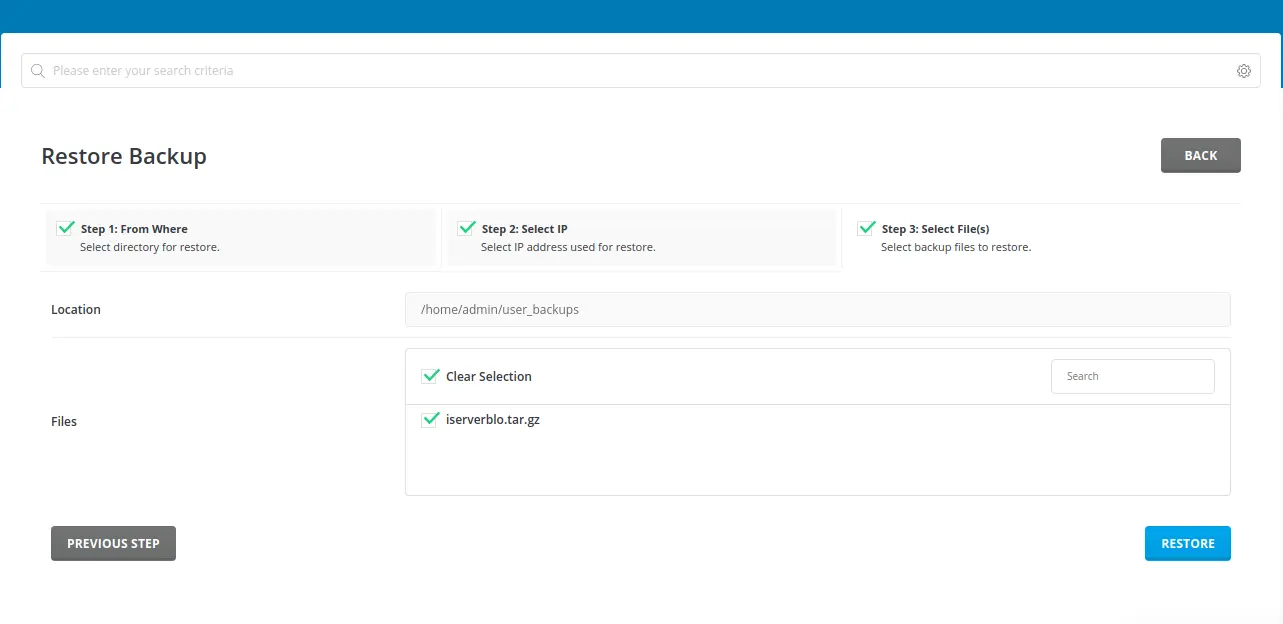
Step 7 — Proceed With Restore
Click Next / Restore and allow DirectAdmin to process the account.
6. Verify MySQL Databases & Users
Check imported databases:
mysql -u root -p -e "show databases;"Check DirectAdmin’s cPanel → DA mapping:
/usr/local/directadmin/scripts/cpanel-to-da-mysql.shUpdate database credentials in:
-
wp-config.php
-
config.php
-
any CMS configuration files
7. Rebuild Email Accounts & Test Delivery
After migration:
-
Rebuild Dovecot indexes
-
Update MX, SPF, DKIM
-
Sync IMAP inboxes
-
Test incoming & outgoing mail
Check logs:
tail -f /var/log/exim/main.log
tail -f /var/log/maillog
8. Update DNS Zones
If DNS is handled by DirectAdmin:
-
Update nameservers at registrar
-
Verify DNS propagation
-
Rebuild or customize zone templates
DNS zones are located in:
/var/named/📌 Insert DNS screenshot here.
9. Test Websites After Migration
Verify:
-
PHP version compatibility
-
.htaccess rules
-
WordPress permalinks
-
SSL certificates
-
Cron jobs
-
Email logins
-
Backups
Use DirectAdmin’s PHP Selector if versions need adjustment.
10. Switch Nameservers or Update A Records
When everything is verified:
-
Update nameservers OR
-
Update A records for each domain
Propagation: 2–24 hours
11. Post-Migration Optimization
Once stable, optimize the server:
-
Install & configure CSF
-
Enable ModSecurity
-
Enable SpamAssassin
-
Enable automatic SSL
-
Enable caching (Redis, PHP-FPM tuning)
-
Tune MySQL (my.cnf)
-
Tune Apache/Nginx
For long-term care, explore Linux Server Management.
12. Final Checklist
-
All accounts restored
-
Websites loading correctly
-
Emails working
-
SSL active
-
DNS propagated
-
Cron jobs functioning
-
Backups enabled
-
Firewall/security configured
Conclusion
Migrating from cPanel to DirectAdmin is straightforward when done correctly. With full backups, clean transfers, and proper restoration steps, the migration can be completed with minimal downtime. DirectAdmin offers a stable, lightweight alternative to cPanel with significantly lower licensing overhead.
If you want a zero-downtime, fully managed migration, our team handles the entire process from start to finish.
If you want Yoast SEO fields (title, keyphrase, meta, slug), just say:

Leave A Comment