Cloudflare provides a free Content Delivery Network (CDN) that improves the speed of your website. Once the connection with Cloudflare is established, it will give various vital features such as SSL protection and security from attackers (IP Masking).
Steps to Set up Cloudflare for WordPress
Cloudflare must control domain name servers from its end in order to function properly, and this is how the cloudflare CDN works.
Please follow the instructions below to manage domain name servers from the cloudflare end.
To begin, go to Cloudflare and create an account.
1. Create your free Cloudflare account
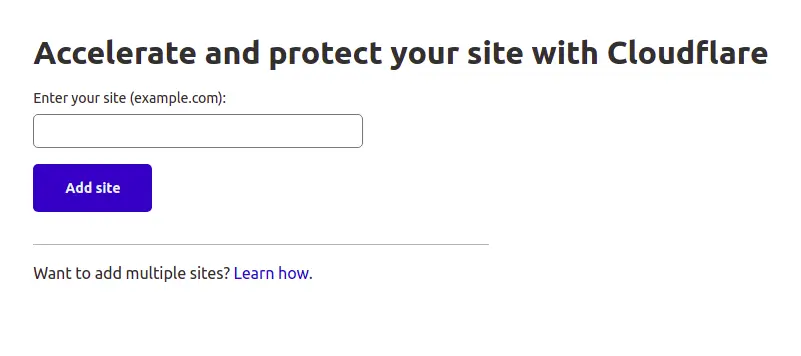
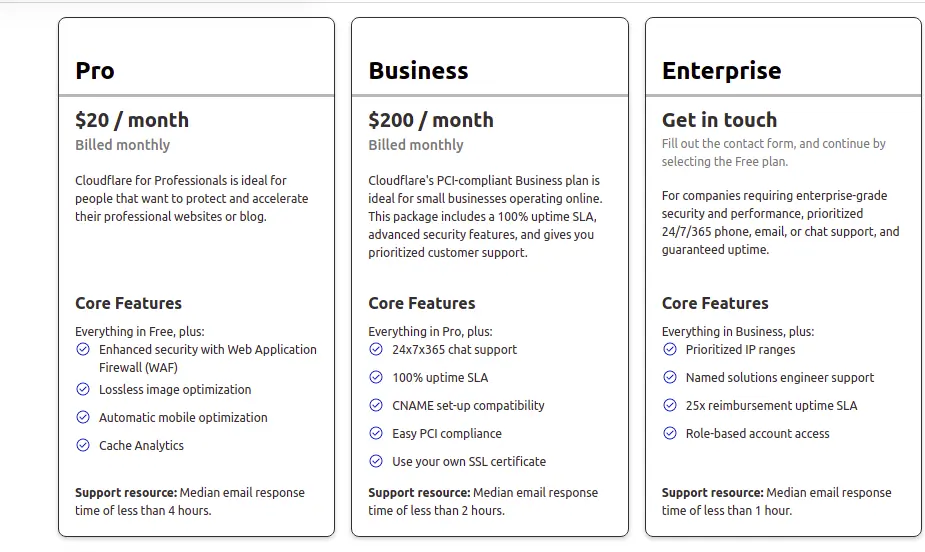
On the next page, click Add site and input the wordpress domain name that you want to manage using Cloudflare. Then you have the choice of choosing a cloudflare plan. We’ve chosen the cloudflare free plan, which has all of the essential features for a WordPress site.
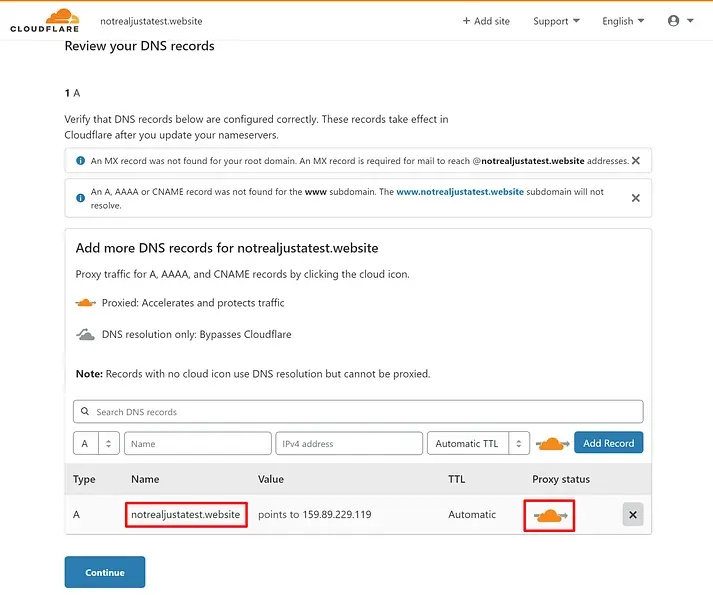
2. Next is to verify the DNS records for the added domain.
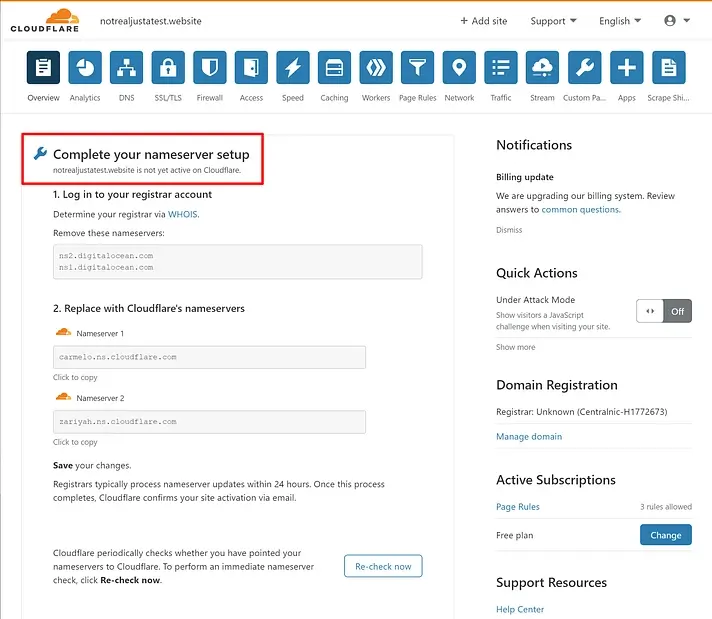
3. If the domain isn’t already using Cloudflare’s name servers, we’ll need to point the domain’s nameservers to Cloudflare.
Cloudflare will send us a new set of nameservers, which we may replace with our present ones.
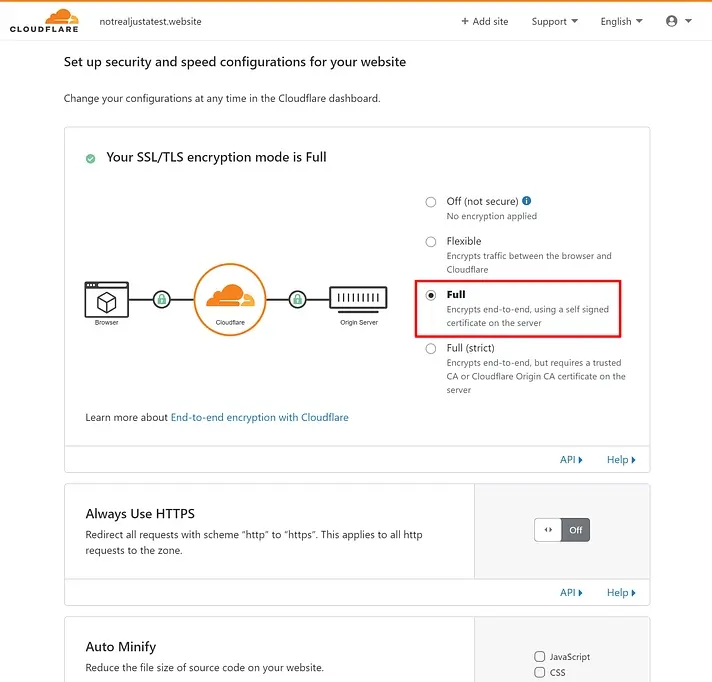
4. As mentioned earlier Cloudflare provides a lot of features to secure our website like SSL protection and protection from attackers.
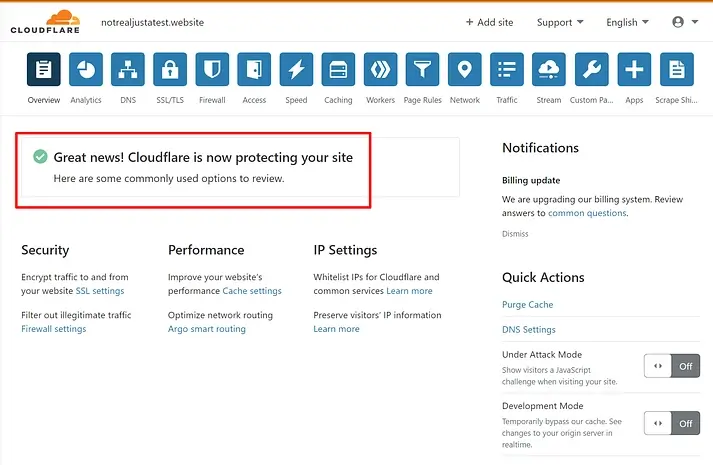
5. Check and confirm that your connection is complete.

Configuration of Cloudflare plugin with wordpress
After the completion of the steps in Cloudflare login to the wordpress admin page for configuring Cloudflare plugin.
1. log in to the wordpress admin panel using your credentials.
2. Go to plugin option in the left pane and click on Add new plugin.

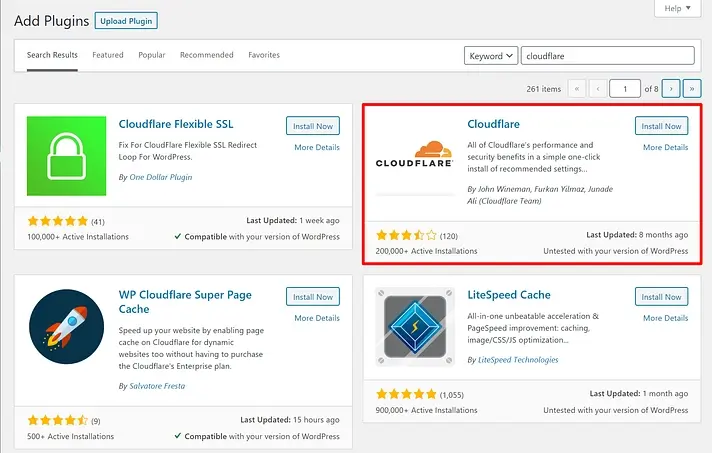
3. Search the Cloudflare plugin and click on install.
4. After installing the plugin, you need to activate the plugin, for that click on Activate.
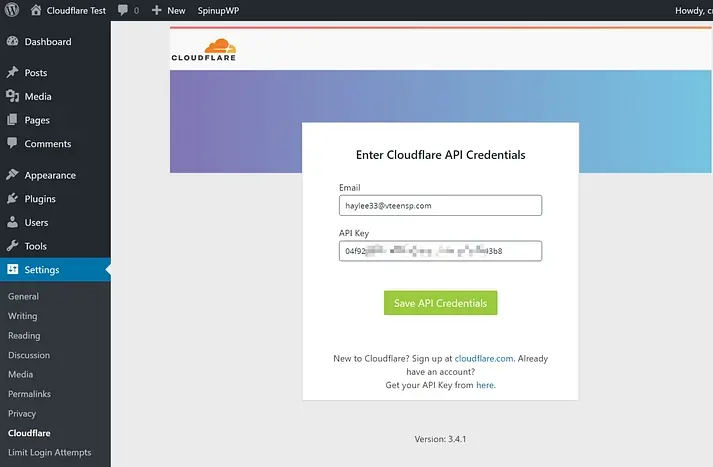
Once you activate the plugin, go to Settings → Cloudflare and click on the Sign in.
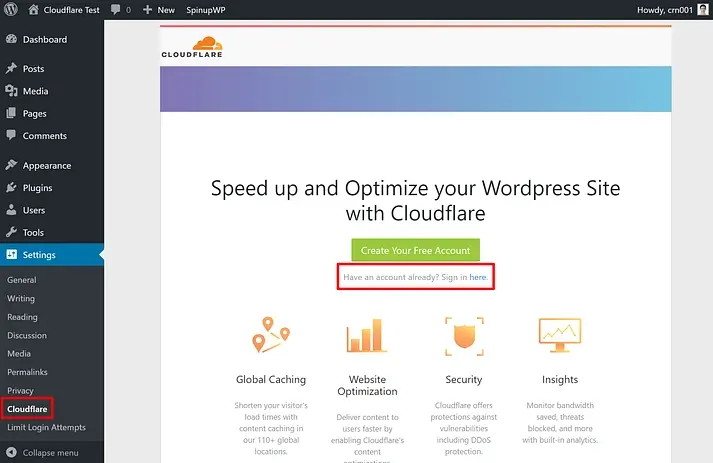
Enter the email address of your Cloudflare account, along with your Cloudflare API key and then save.
How to find the Cloudflare API KEY.
1. Go to the Cloudflare dashboard
2. Click on your account icon in the top-right corner
3. Select My Profile.
4. Click on the API Tokens tab and click the view next to your Global API Key.
5. Copy this value and add it in the plugin’s settings in your WordPress dashboard.
After all, we can optimize the Cloudflare settings for wordpress websites.
Now we have learned how to set up Cloudflare for WordPress . Iserversupport offers dedicated cloud infrastructure management plans , which ensure and simplify operations in hybrid IT or multi-cloud environments with proven technologies and innovative solutions.

Leave A Comment